Fall! Don’t you just love it? When you envision your perfect Fall, what do you think of? Apple picking? Changing leaves? Sweater Weather? Chai tea lattes? With every season, I have a bucket list of sorts. There are certain things that I think just make the season complete. For Fall, one item that always lands on my mental bucket list is carving pumpkins. I’ll pin cute designs when I come across them and conjure up the idea of a couples date-night-pumpkin-carving-contest. And then…..
Life happens! 
I get it.
That’s what happened to me a few years back. Every year pumpkin carving would land on my mental bucket list and every year without fail, Thanksgiving would roll around and I’d be waving bye bye to my good friend the jack-o-lantern. SO, today in an effort to help you “get your fall on” and celebrate the season WHILE maintaining your sanity I bring to you : “The Painted Pumpkin.” That’s right this self-proclaimed queen of spray paint is taking it to another level. We’re spraying gourds baby! 
My cutie pie sister is joining me today and we’re going to do 5 super simple, anyone-can-do painted pumpkins for your viewing pleasure.
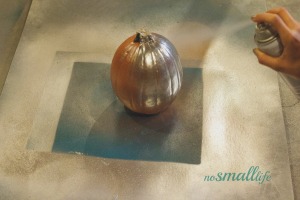
First up, your basic spray painted pumpkin. This is the pumpkin to do when you have 30 seconds. 
As you can see, I’ve used this poster board multiple times and it’s still going strong. I prefer poster board to newspaper or a drop cloth because it doesn’t stick.
Gunther however prefers the drop cloth.
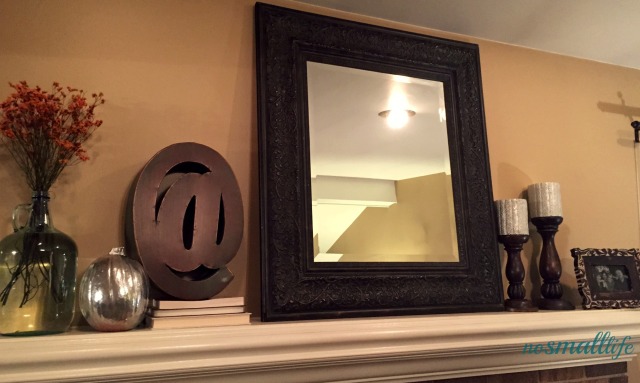
I placed this mini pumpkin on my Mantel to add a little “Fall meets Glam” to my decor.
Next up are 2 basic spray painted pumpkins with a little kick. These are the pumpkins to tackle when you have 1 minute 30 seconds
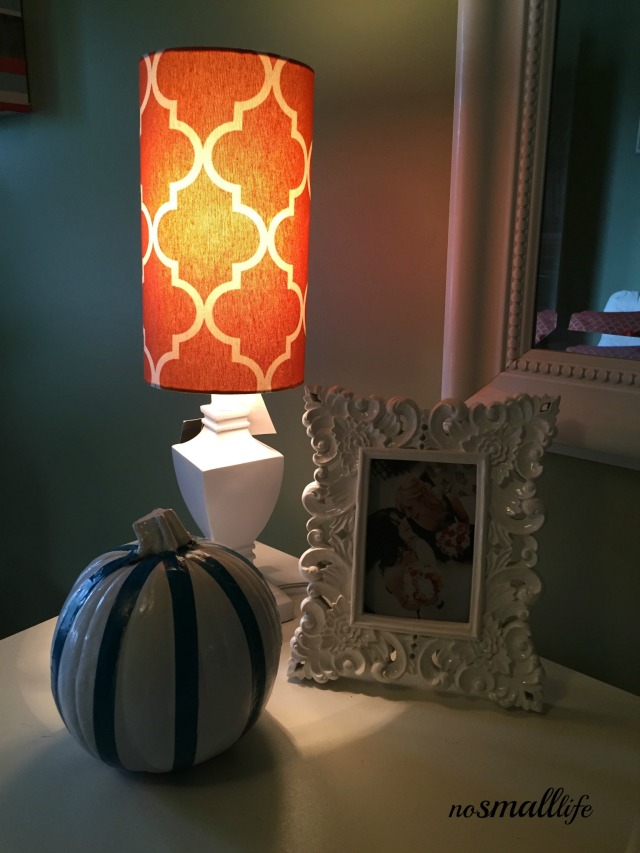
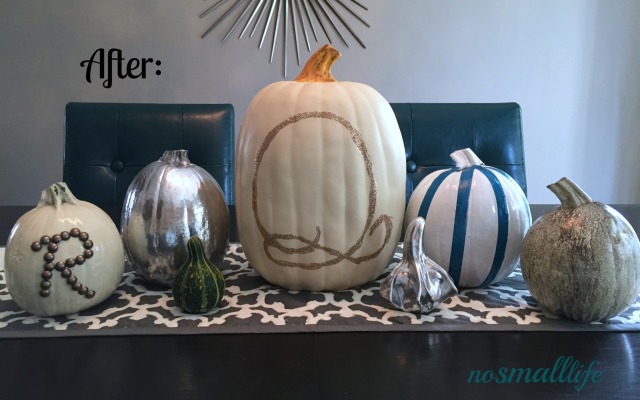
The 1st Pumpkin has a very playful feel and would be great for the kiddos in your life. I sprayed this pumpkin a semi-gloss white and added teal washi tape from Target. There are so many designs that you could do with the washi tape OR you could err on the side of ridiculously simple and pretend you intended your pumpkin to resemble a basketball…like I did. 
The 2nd basic spray-painted pumpkin was a total happy accident. It started out metallic silver with polka dots, but it wasn’t workin’ for me. THEN I decided it should be cream with gold polka dots. And next, I learned a valuable lesson. Spray Paint, has a shelf life and my Cream can had seen better days. It was a crazy splotchy mess. To cover it I decided to spray it with Metallic Bronze in a hammered finished. Have you used Hammered Spray Paint before? It’s awesome. ( I spray painted all my interior door knobs with it!) But alas, the cream splotchy mess had yet to dry and the result was..um..as my whitty sister put it, “marbled.” And truth be told…I LOVE it.
Life Lesson #532: Sometimes, a creative mistake can open up room for a new idea. Embrace it. It’s just a pumpkin.
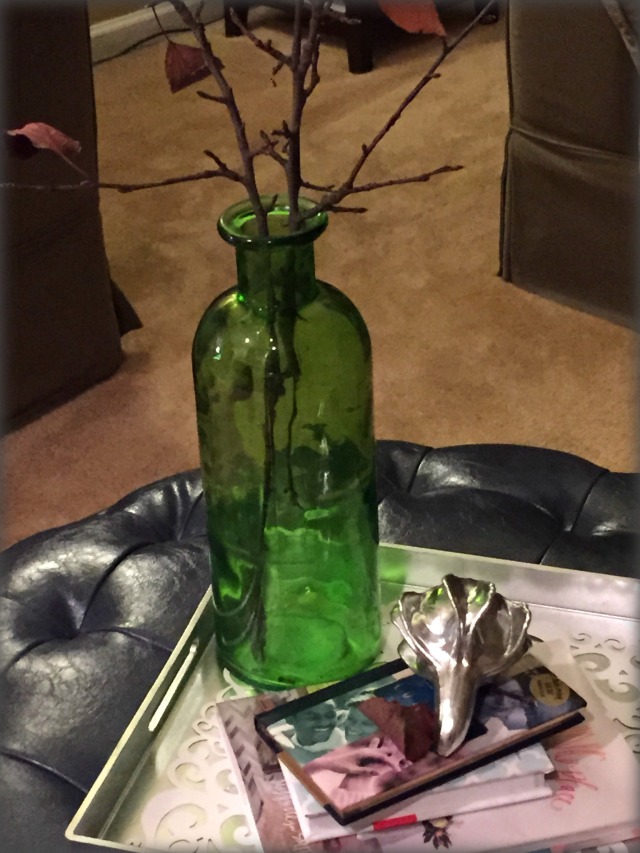
And before we conclude the spray-paint only section. Meet my gourd. He was $0.27. He got painted and now lives on my ottoman topping a stack of books. He’s neighbors with a Home Goods vase that is filled with a few branches I literally ripped off my tree as I was letting Gunther out one night. You gotta use What’s in your Hand remember? 
Moving right along we have 2 simple versions of a Monogram Pumpkin.
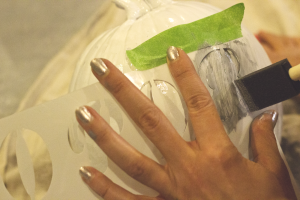
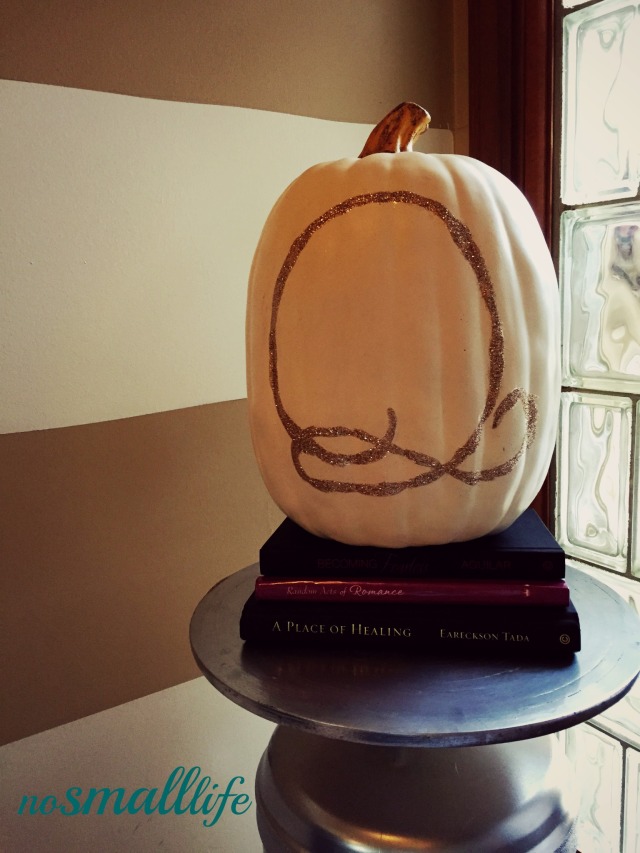
Here is my 1st attempt. My sister was hoping for a lovely “Q” on her cream Pumpkin. EPIC. FAIL.
Life Lesson #534: Stenciling non-flat surfaces…is not my forté. The struggle is real.
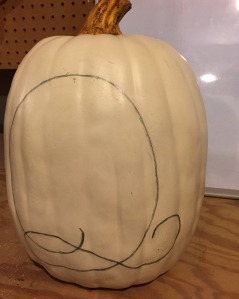
SO, in order to redeem myself, I instituted the help of my friend Emily. She’s the perfect mix of love, sarcasm, loyalty, and calligraphy. Seriously, the girl can hand letter like nobodies business. If you do not have an Emily in your life, try sketching on your own lettering in pencil OR you could print off a giant letter and trace it on.
Next, add some Modge Podge (which is in the $1 spot at Target Currently..I KNOW!) I applied it with a foam brush for extra precision and add glitter. I choose “Champagne” glitter from Michael’s, it has a rose-gold feel. Once it’s dry, give it a good coat of Spray Lacquer so you can pass it down to your great great grandchildren.
And the result, so pretty and expensive looking. I was really tempted to keep it, BUT since I have no Q’s in my name. I made my own Monogram pumpkin, with Furniture Nails!
Ta-Dah. If you follow me on Instagram, your curiosity is now satisfied…;)
If you’re wanting to make your own Monogram-Nailhead-Pumpkin just pick up a pack of Furniture Nails from the hardware store. I used just under 1 pack. PS they’re $1.25/pack, so go crazy, buy 2!
I tired my hand at drawing the “R” on in pencil and then I decided that ALL hand lettering should be left to Emily. Needless to say, I free-handed it and if I can…you can too!
So there you have it, 5 quick and easy no-carve ways to fancy up your pumpkins!
Praying this brightens your home no matter what season you may find yourself in.
Go forth and spray paint.










The monogram is my fav! Love!
Thanks! I’m pretty happy with the way it turned out
Very cute way to decorate pumpkins!
Thanks Ashley! So glad you stopped by
Love these! All of them! I can’t wait to try it with my pumpkins!!
Thanks Elizabeth! I’d love to see pics if you do! I know they’ll turn out great
What an improvement! I really like the pumpkins. I recently spray painted some ceramic pumpkins gold, and I love the new look. Great job! Thanks for sharing…saw this at the Whimsy Wednesday link up!
Thanks Christie! ooo gold pumpkins, so pretty! Glad you stopped by!
Great ideas! I love the transformation of the display from traditional, to glam!
Coming from Paulas Weekend Party. I have loved fall this wear, you have done a great job with your groupings!!! Would love to have you stop by and share.
Have a great weekend, Karren
Thanks so much Karren I just linked up with you last night, wouldn’t miss it!
  So glad you stopped by!
Thanks so much Kelly! So glad you stopped by
What great ideas for “adult” pumpkin decorating!
Commenting from #savoringsaturdays.
Thanks Karen! So glad you stopped by
These are really beautiful and creative. I love even the one that came out marlbed – yes I agree with your sister, lol. Even though it was unintentional it came out looking beautiful.
Thank you so much Dina! So glad you stopped by
So cute!! What great classy ways to decorate with pumpkins!
Thanks Chantel!
No carve pumpkins are such a brilliant idea! I love your ideas. The monogram ones are my favorite. Thank you for joining us for Hump Day Happenings.
Thanks so much Jenna!
I’ve seen all of the Pinterest for metallic spray painted pumpkins, but didn’t really believe them… but apparently it works! All of the pumpkins look great!
Thanks so much, it’s fun and easy!
What fun, cute decor! My girls would love doing this with me!
Thanks Sami, hope you try it out! So glad you stopped by, love your blog
Cute cute cute!!! I think I want to grab some dollar store cheapy plastic pumpkins and do some of these, that way they last several years too! Thanks for the idea!
GREAT idea! That’s next on my to-do list. So glad you stopped by
Love your pumpkins, Megan! Spray paint is awesome, isn’t it? They’re so pretty! Would love to have you share any DIY at our link party on my blog please Hope you have a great weekend!
Thanks so much Kendra! stopping by now
Hello sweet lady! Everything looks incredible. Pinned. We appreciate you taking the time to party with us. We hope to see you on Monday at 7 pm. We love partying with you! http://loulougirls.blogspot.com/
Happy Saturday! Lou Lou Girls
I love the gold glitter! So pretty!
Thanks Jenna!
I adore that Monogram pumpkin! It’s not too late to try this right? Oh well, who cares lol
Tiffany
http://www.themommyglow.net
Not at all! You can totally rock a pumpkin until thanksgiving
I love all of these ideas!!! Thanks for sharing http://www.sarahefrazer.com
Thanks Sarah!
I tried to crave a pumpkin last fall but it wasn’t to successful. This year, I didn’t brother trying. But these are some cool ideas to try for decorating a pumpkin, I especially like the silver ones.
Thanks Felecia, yea im not much of a carver myself. Definitley give the silver one a shot,!its foolproof
I love it! I always carved pumpkins growing up, but it really is a hassle. last year, I took a drill to a pumpkin so I could still have a lighted pumpkin, without the hand carving. This year, I didn’t open any pumpkins at all, and just stuck to paint. One of my favorites I used puffy paint to make a lace design from the stem down, as inspired by a post on A Beautiful Mess > http://www.pinterest.com/pin/37928821837426709/. I’m all kinds of excited about pumpkins again!
Ooo, i saw those on A Beautiful Mess, i bet they turned out great!