Just over a year ago we finally painted our Laundry Room. It was the last room in the house that remained completely untouched by our creative impulses. Our motivation came from the fact that we were upgrading our icky linoleum and as you probably know, when you don’t have to worry about getting paint on the floor, it makes the job go much faster 😉
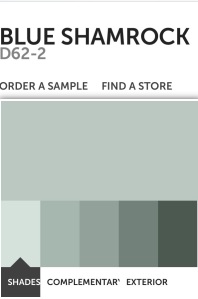
At the same time, we were in the process of “refreshing” our kitchen (code for: “Hey, lets do a mini update and then get in way over our heads.”), and didn’t have the extra motivation to paint our laundry room’s oak trim. SO, we picked a color that worked well with the Oak. Enter Blue Shamrock by Olympic.
I was in paint love.
Walls painted: check…and that’s pretty much it because that room wasn’t our focus at the time. Over that last few months we slowly added a couple more things to make it as functional and as updated as possible. The latest mini project is what I want to share with you today.
This DIY is so ridiculously easy, that I almost didn’t post it. It’s embarrassingly simple and really not so much a DIY post as it is a confidence boost that says, “Yes, you go along with that random creative thought you had!”
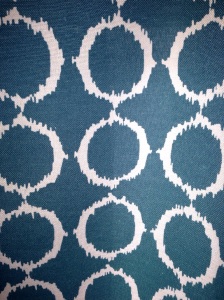
On a recent trip to Home Goods, I spotted these cloth napkins in the clearance aisle.
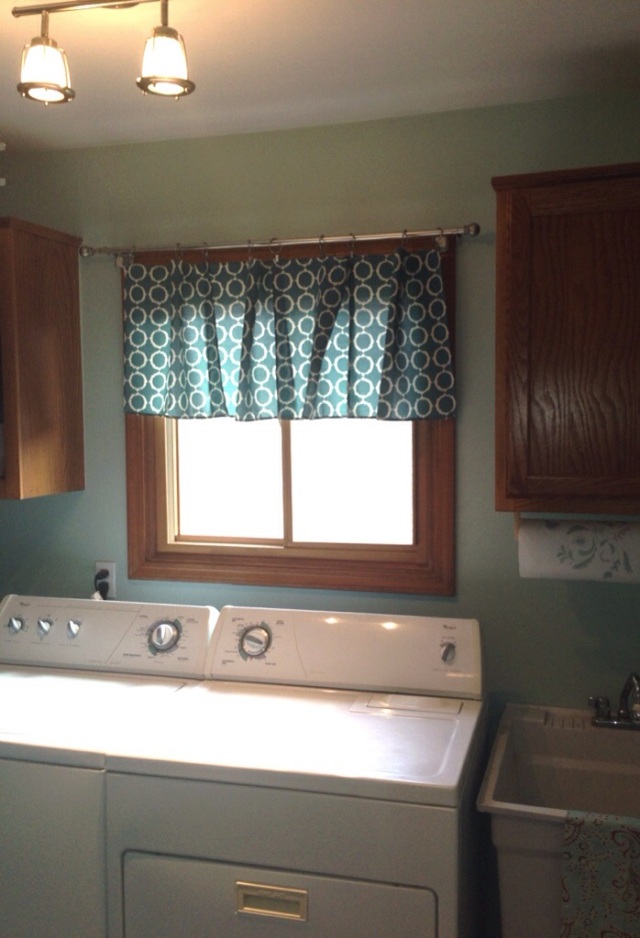
$5. Yes please. I loved the pattern and color. Originally, I wanted to turn them into a throw pillow slipcover for my living room, but they weren’t quite the right color. SO, I did the next logical thing and turned them into a window valance for my laundry room. ;D
I had a curtain rod already in place from a previous “window treatment” (i.e. a tablecloth that I folded into submission to create a faux Roman shade). The only thing I had to purchase were a pack of curtain rod clips from Hobby Lobby. I’m sure somewhere down the line I will recruit my mom to sew these together for me because let’s face it, buttons are the extent of my sewing skills. But for now this made for an instant no-sew fix.
Ready for the easiest “how-to” ever?
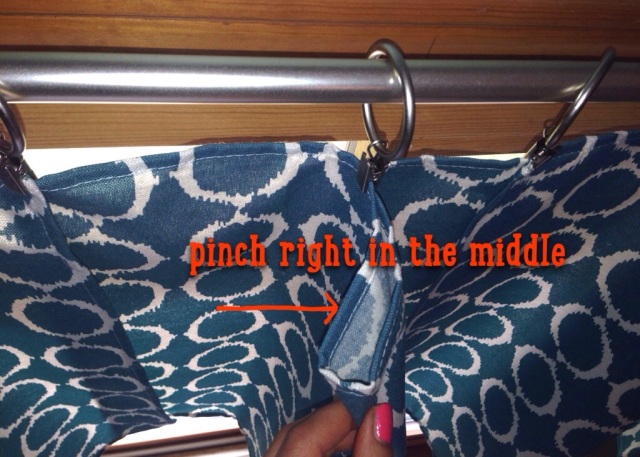
Basically, you place your clips on the rod. For 4 cloth napkins I used 9 curtain clips. Next, clip the edge of the napkin with your first clip. Now, fold your fabric in half and clip at the base of the fold like this:
Next, grab your 2nd napkin, overlap the edges at the seams, clip together and continue the process for the next two napkins. See, wasn’t that simple
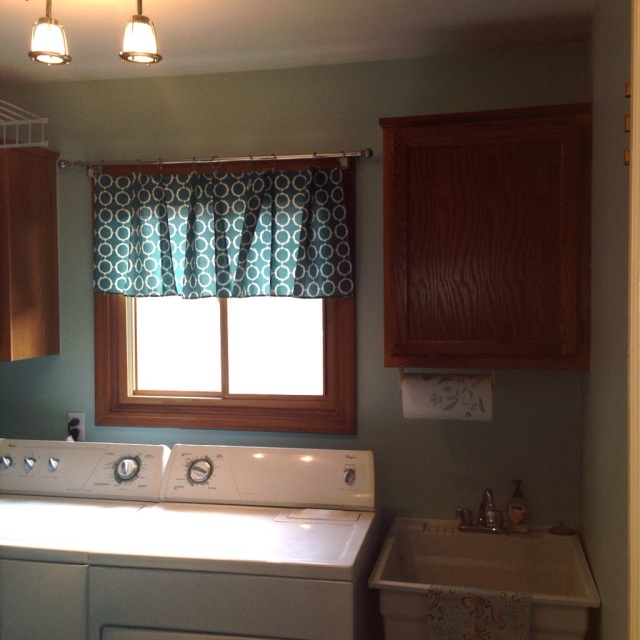
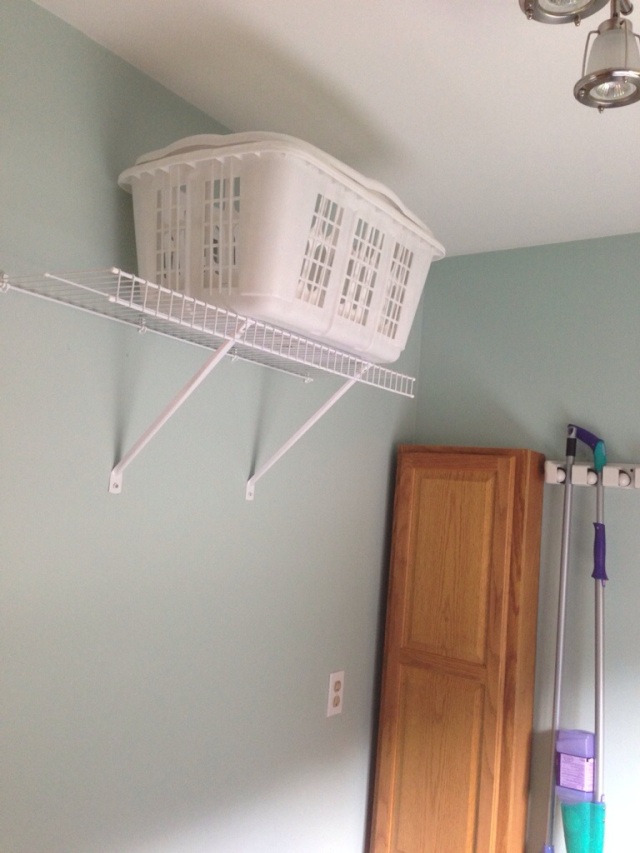
The Blue Shamrock paint works well with the Oak, but will work equally well with white trim when we decide its time to kick the last bit of oak to the curb. 😉 On the opposite wall hubby installed a drying rack from Lowes which also keeps our laundry baskets out of the way.
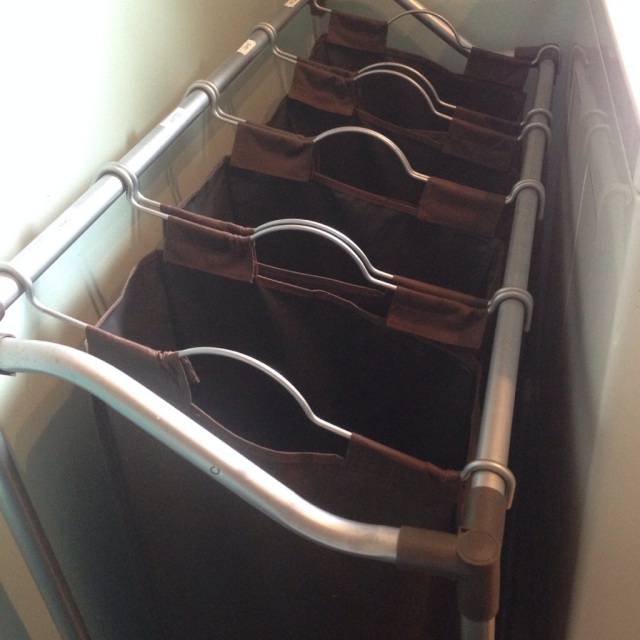
To the left of the Washer we have our 4 compartment Laundry Organizer: Darks, Whites, Lights & Dry Cleaning. And just to clarify…it doesn’t always look like this,
I made sure I caught up on my laundry just for you 😉
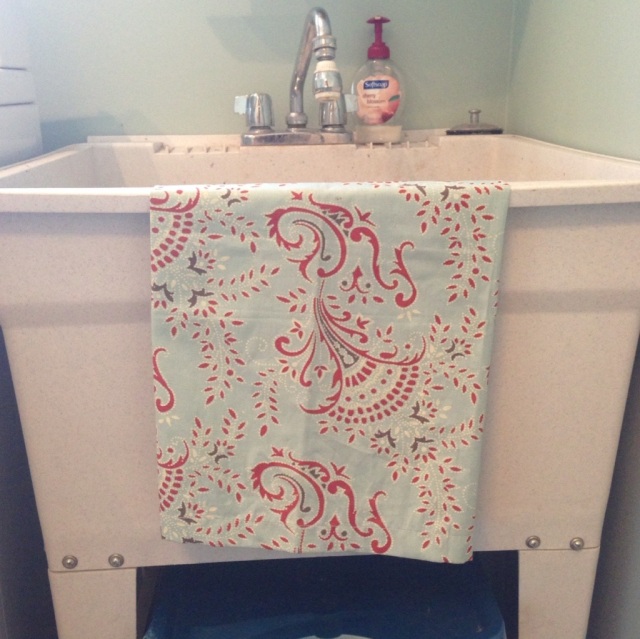
The last little finishing touch for now was one last cloth napkin, (posing as a towel 🙂 )hung over the laundry tub. Smaller different pattern + similar color palette =win!
Thanks for checking out the world’s easiest DIY. It’s amazing what you can do with $5! Go forth and buy cloth napkins 😉










I wish there was a Love (instead of like button). So cute, I can do that! I’m off to Marshall’s. No sew is my speed.
Thank you Shari! High fives to the no-sewers! 😉 you can totally do this!
Amazeballs
Totes Sar! Thanks 😉
LOVE this color!!! Nice job, I so appreciate your creativity on a budget!
Thanks so much Sarah!
Great idea! I love simple and foolproof DIY’s, so always share those! : )
Thanks so much Megan! Truth be told, this one is so simple I almost didn’t share it lol so glad i did though 🙂
So cute! When we move in a few weeks we have to start from scratch with the window treatments, you can bet I will be using your method!
Thanks for linking up with JOAT!
Yay! you’ll be really happy, where else can you get curtains for $5! 🙂 Good luck, you’ll have to give us pics of your new place!