You know you’re a DIY blogger when your dog drags a giant stick into your house at 6 am and your first coherent thought is, “Can I spray paint that?”
I have full-on spray paint adoration, as you well know if you follow this blog. But, it has served me well on several occasions and today’s project is no exception.
One of the top décor trends for 2016 is “Geometry.” No, not the subject #thankuLord, but simply the shape in all things design.
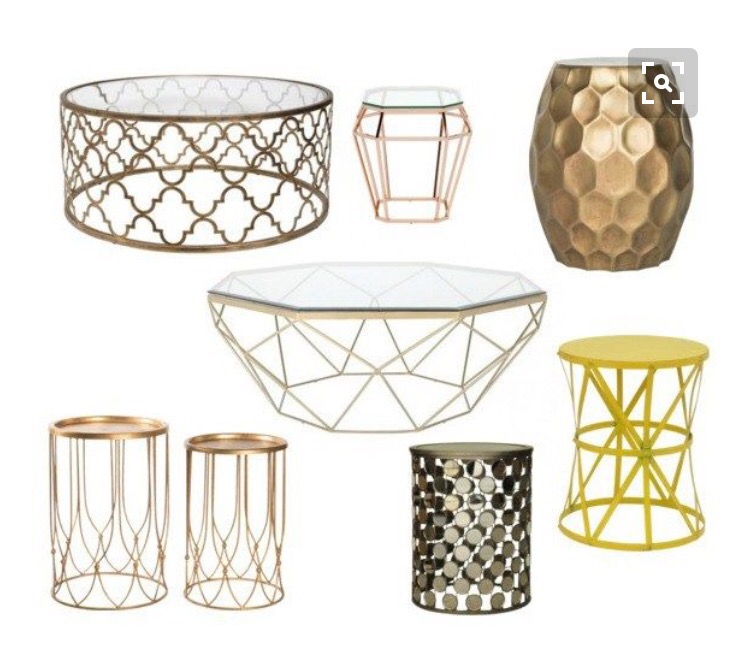
Photo Credit Two Plus Cute
I have always had a love for the clean lines of the geometry trend, but capitalizing on them in my home moved up on the list a couple of weeks ago. Remember when I re-did my Dated TV Stand? Well, in order to stage it well, I made a big boo boo. I confessed it to you guys, I owned up to my silliness, but none the less, boo to the boo. I used a microphone as décor. I know. A couple of you gently reminded me that this particular little gem was much better suited tucked away in a box and away from any dust that could assault it’s hyper sensitivity. #MyPrecious
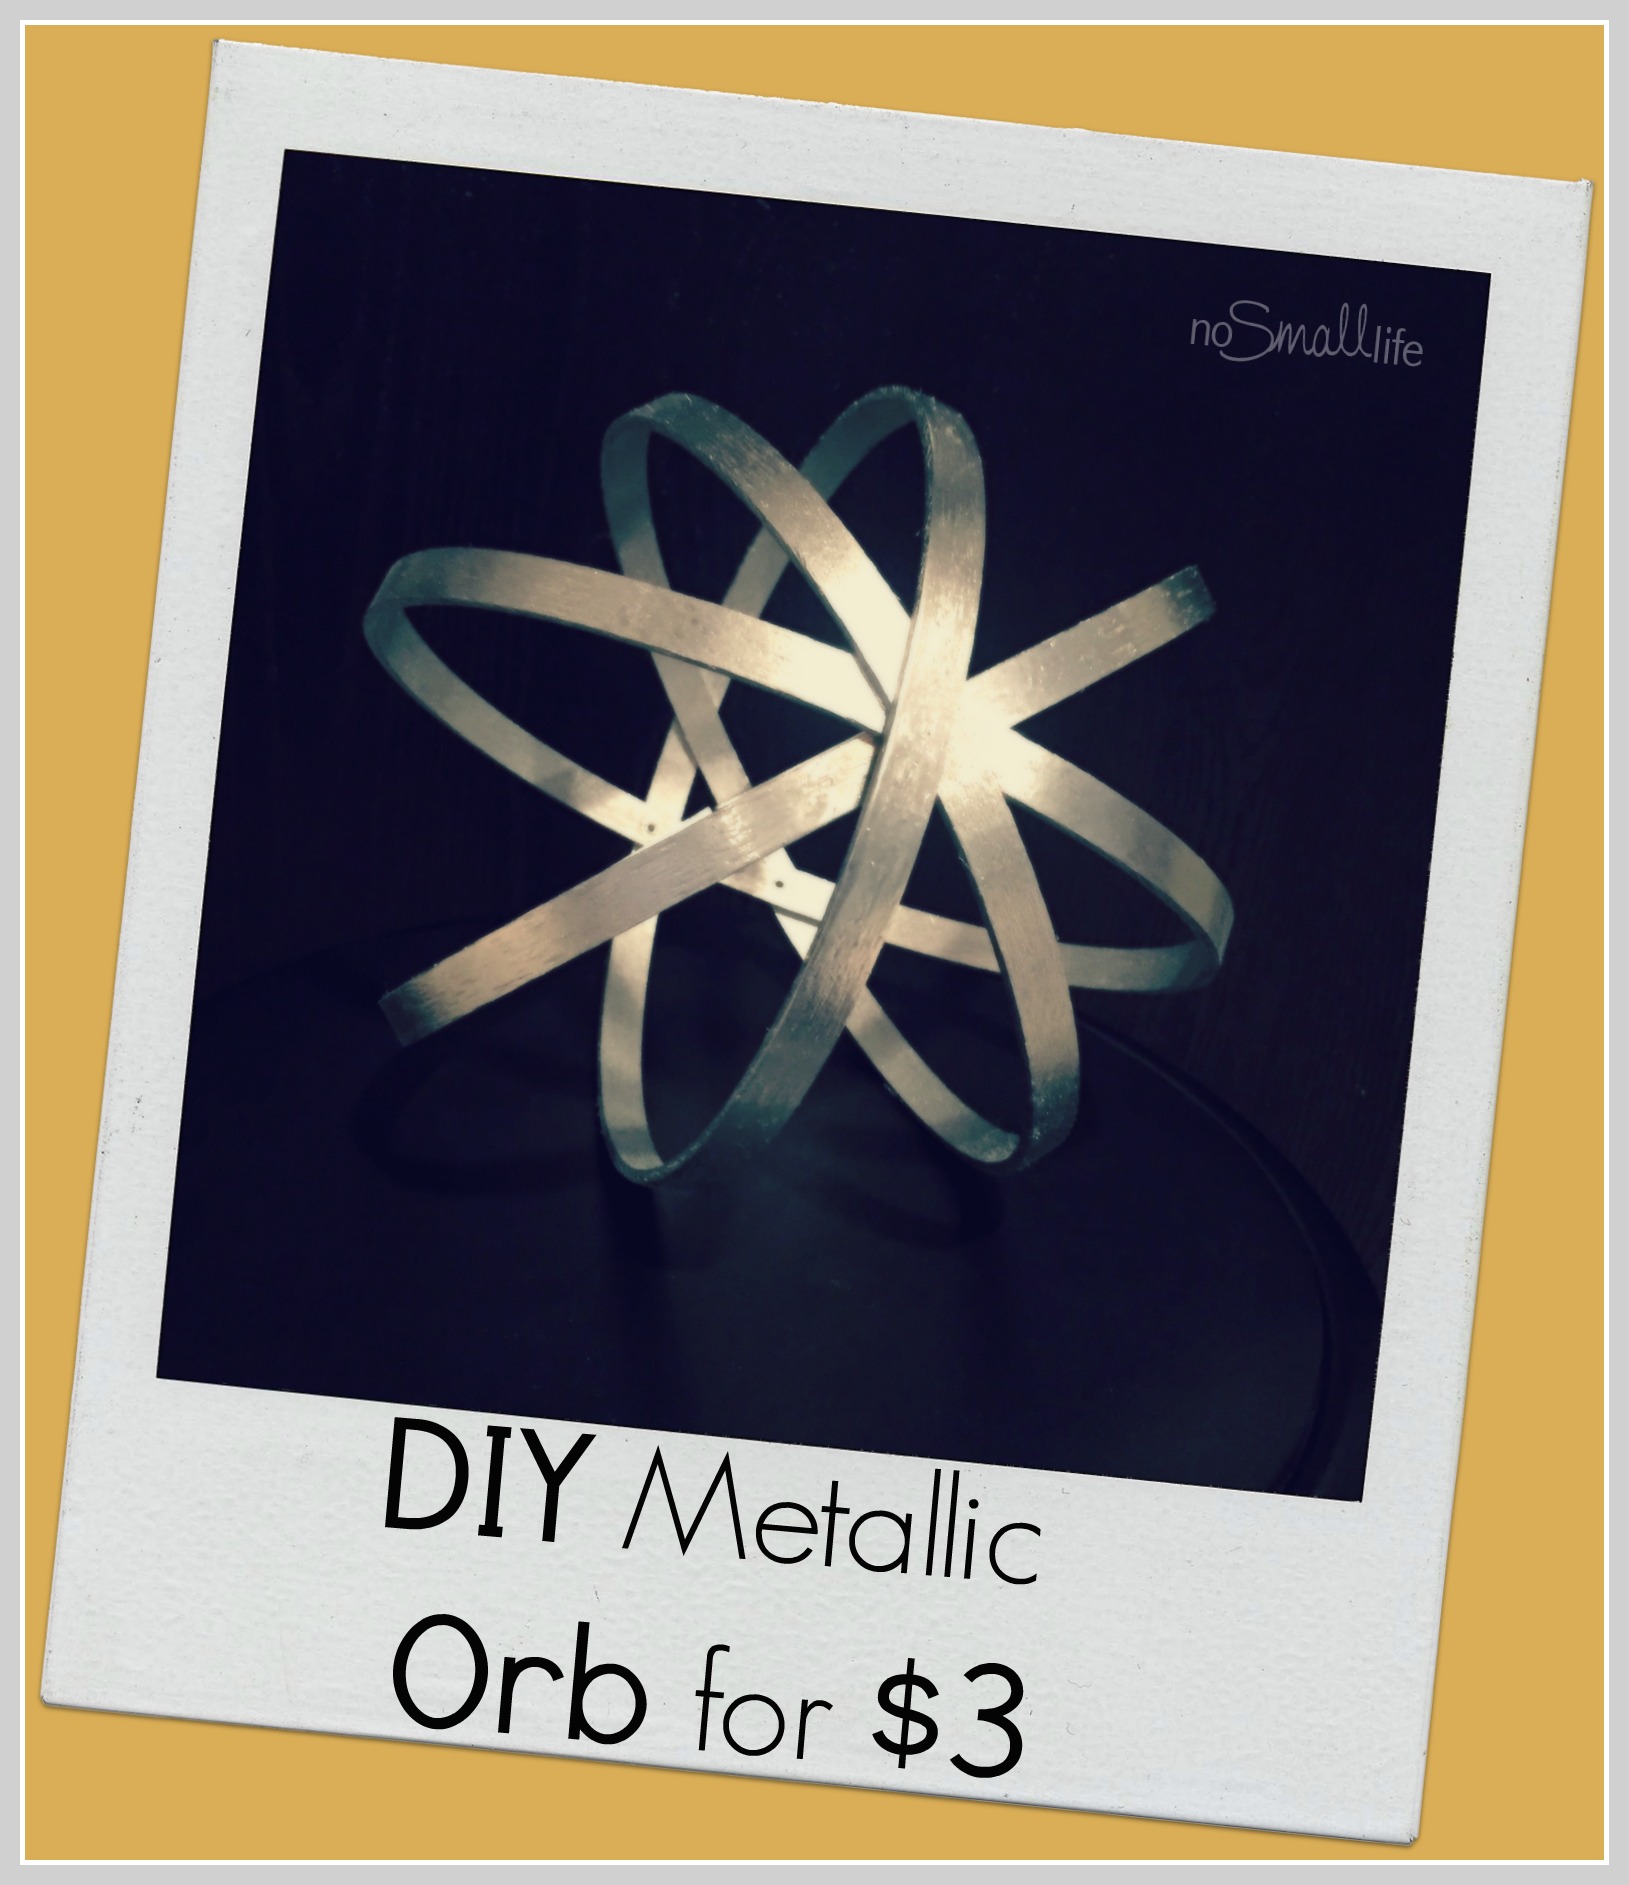
You’ll be pleased to know that it has since returned safely to its home and is now in therapy for the 3 weeks it spent in exposure to the harsh world of my basement. You’ll also be pleased to know that a little $3 DIY project has taken it’s place and truly, I couldn’t be more smitten with the results.
Ok, back to Geometry, again not the subject. Among one of the most accessible ways to capitalize on the trend IS the simple orb. Ta Dah.
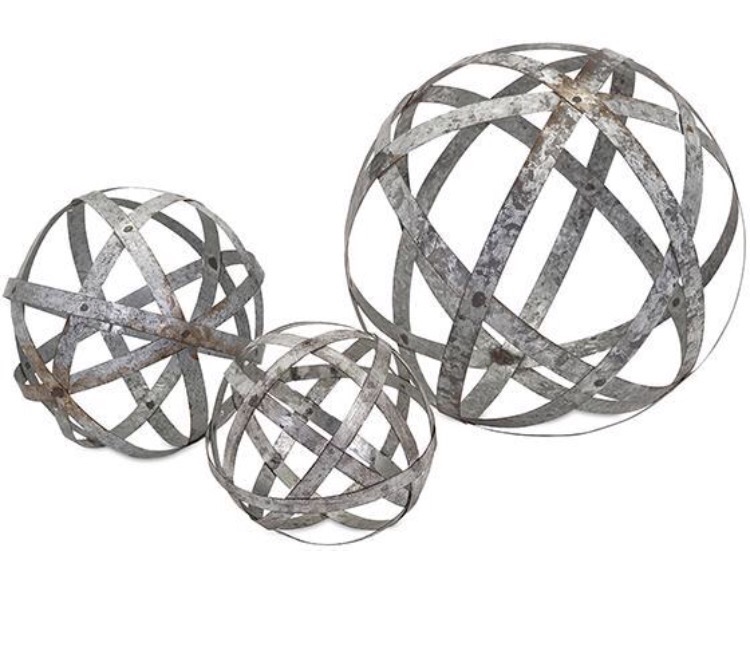
Shiny, Metallic, and Geometric all loaded into one accessory. The problem is the price point. I fell hard for this guy I spotted at Home Goods, but they wanted $30. And that was not happening. SO, I got my Pinterest on and went to work.
I ventured into Hobby Lobby in search of embroidery hoops. The workers, of course, had to point me in the right direction because I have embroidered exactly once in my life. I was eight, my grandma taught me and it looked like the underside of a wet dog. I have since moved on to other artistic endeavors.
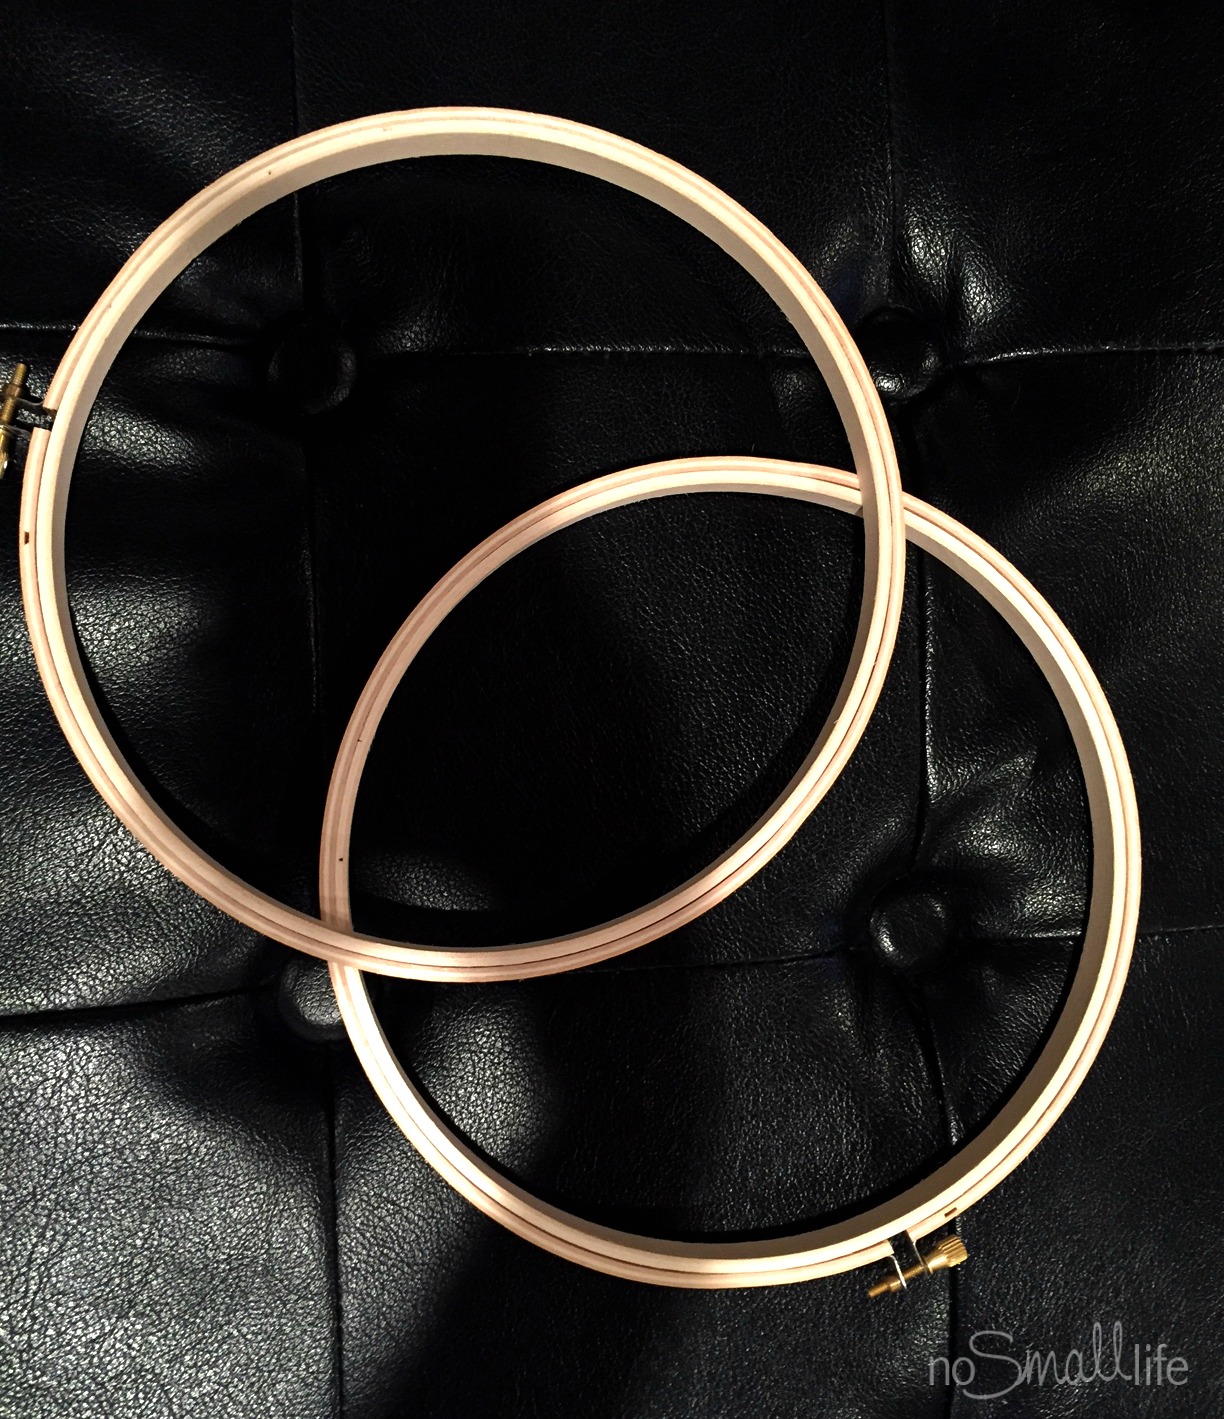
For this project I scooped up 2 sets of medium sized embroidery hoops . Each set is $1.50 and contains 2 hoops when separated.
Here’s what you do: Separate your hoops into 4 circles, then overlap each circle. You may have to adjust the tightening pin at this point so that the hoops don’t bow.
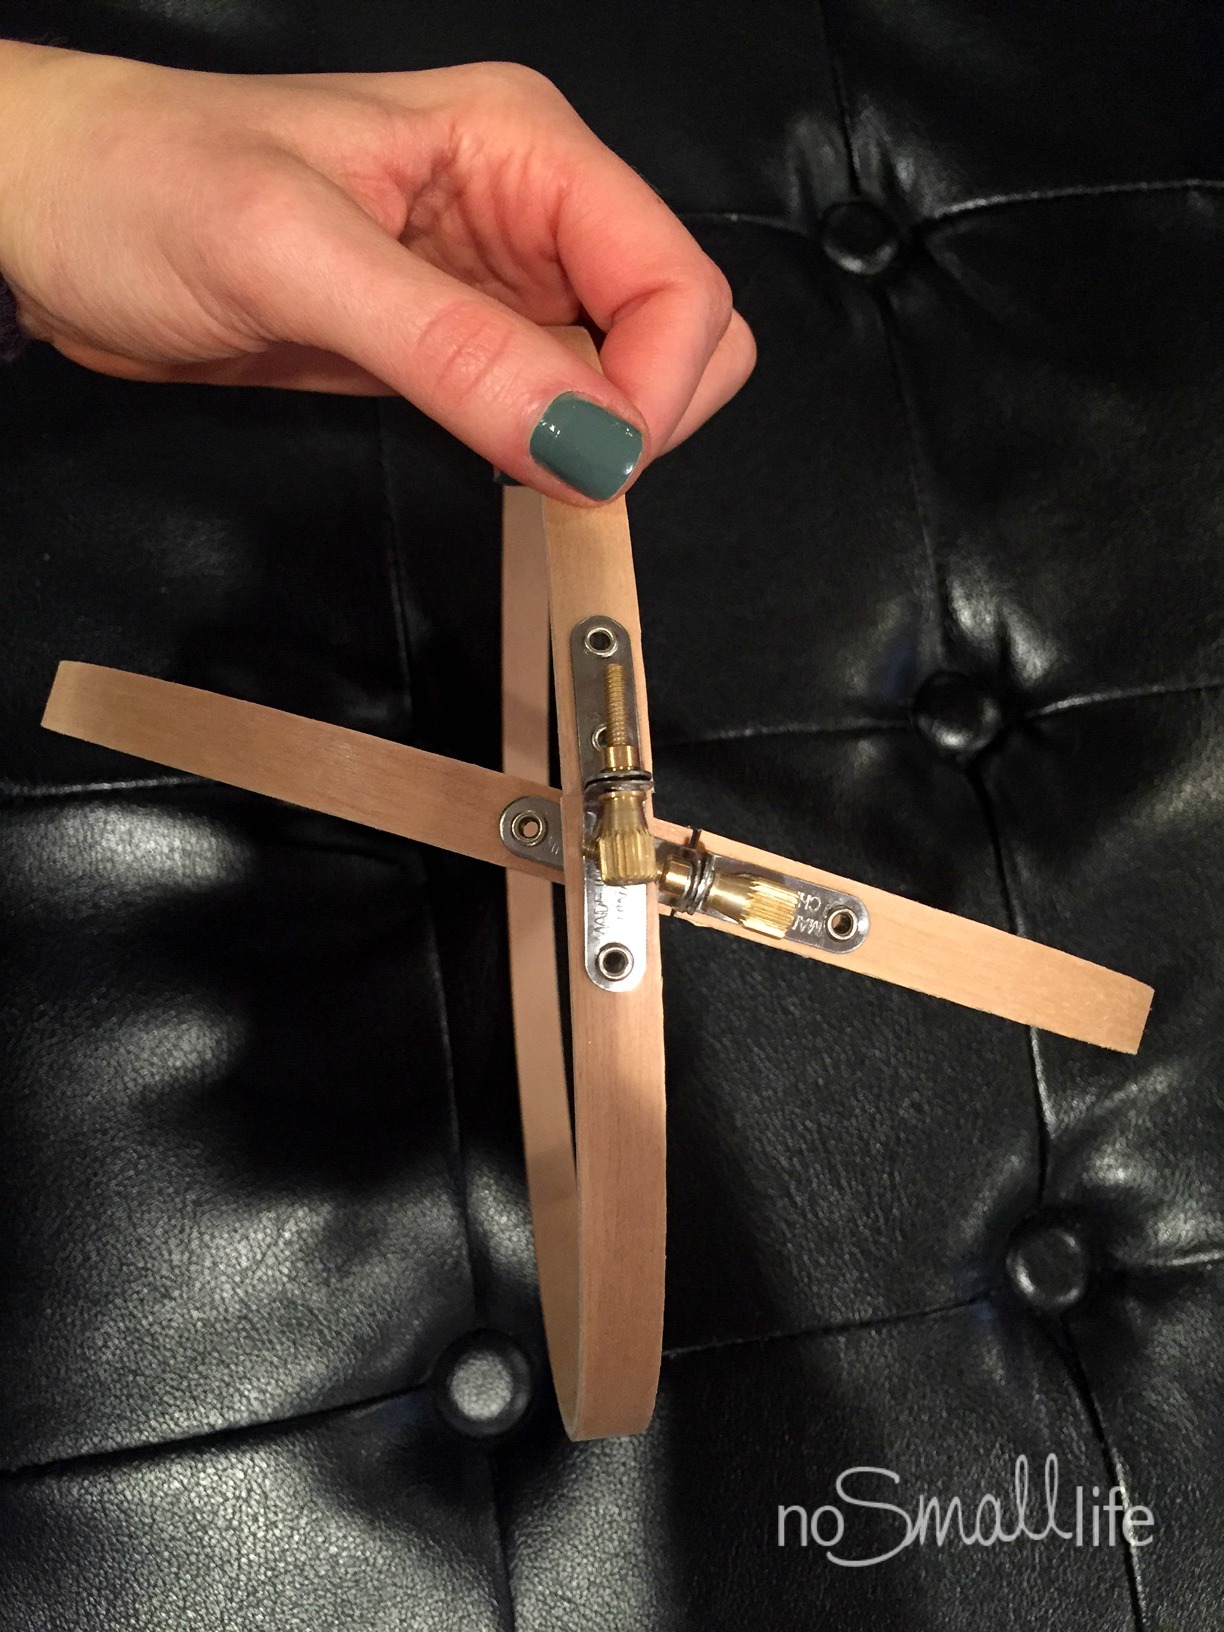
No worries, you can tighten and adjust to your hearts content, just make sure you keep all the tightening pins at the same point of your overlap. Make sense? This will help anchor your orb so it doesn’t go rolling away on you as well as give it a streamlined look.
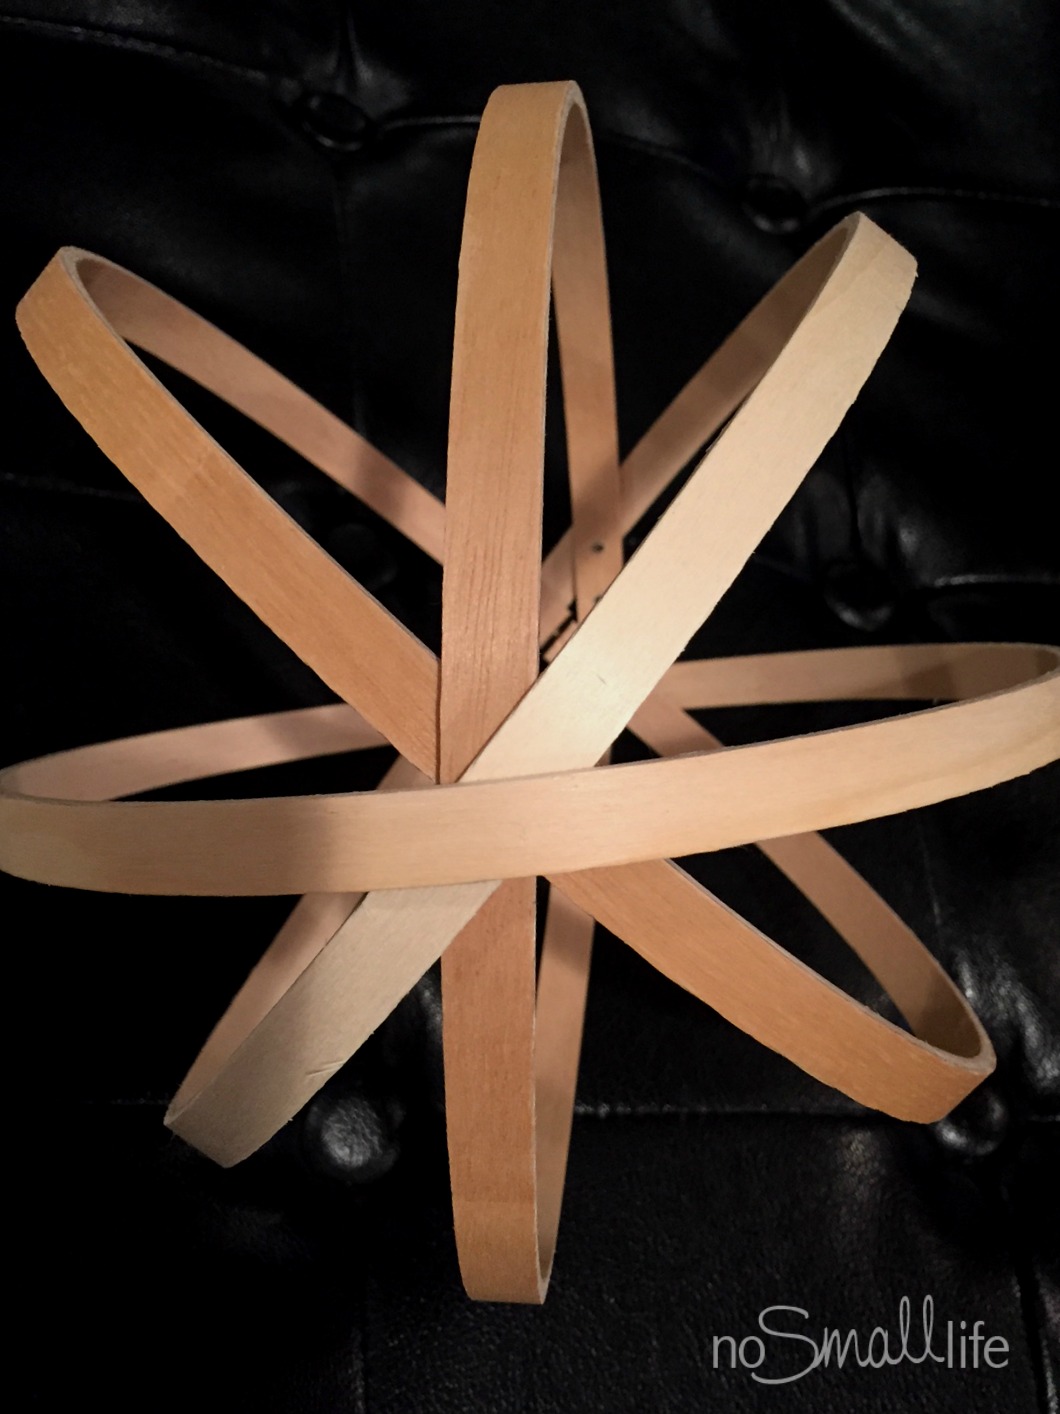
Once your orb is assembled, you are ready for spray paint. I found that the easiest way to execute the spray paint process was to prop the orb on a crate so you can navigate around the entire circumference. This particular crate has been with me since college, Go Rams, and has literally been the base for countless spray paint adventures-door knobs, desk hardware, you name it, it’s seen it.
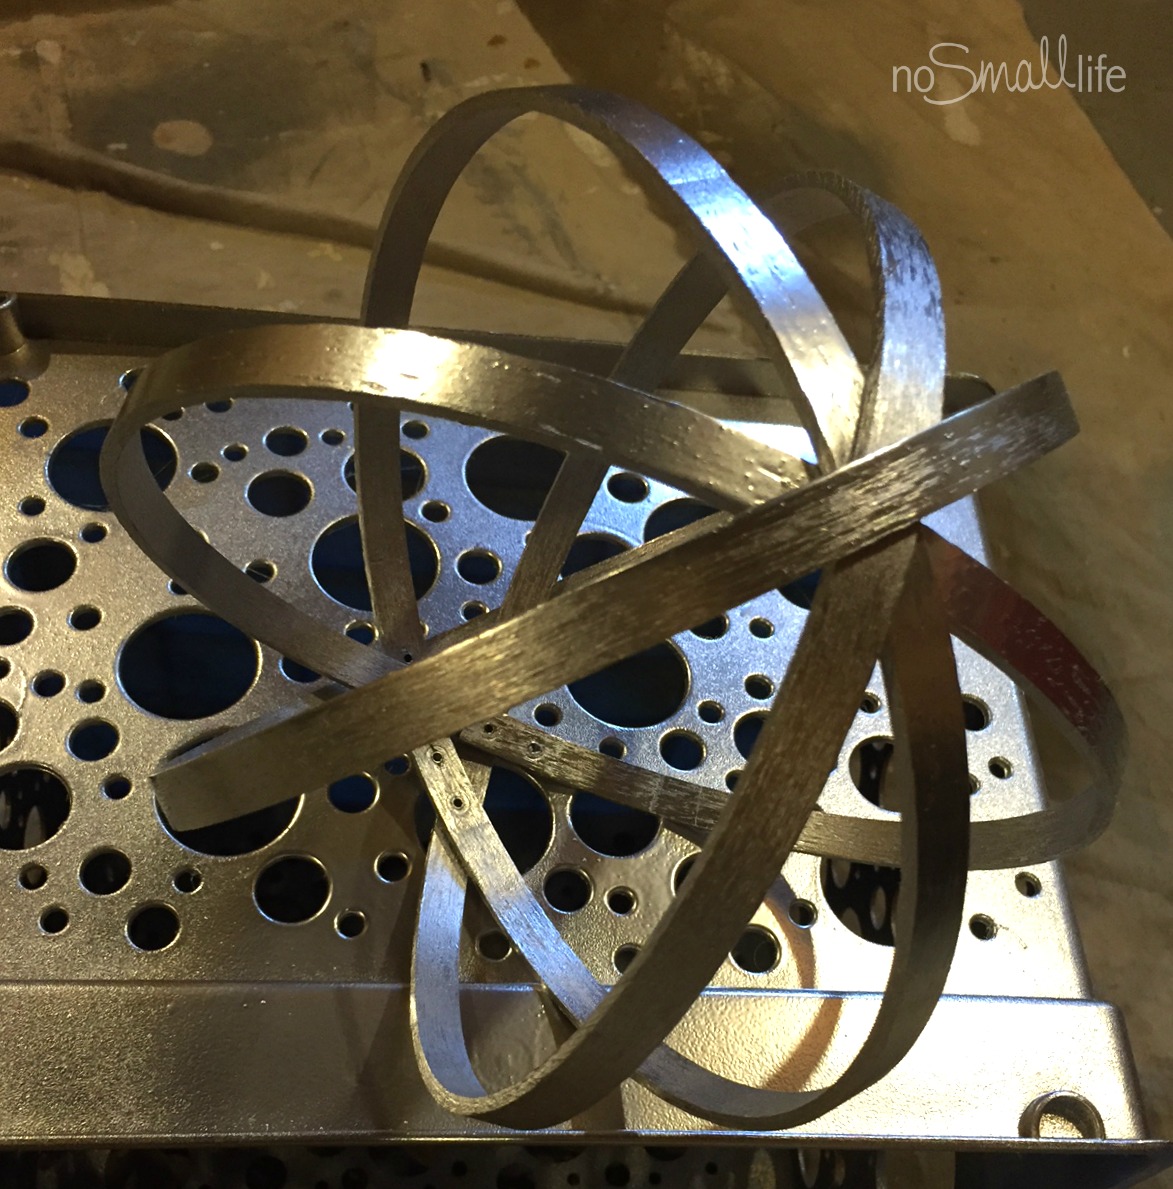
Any who, for this project I used my tried and true Rust-Oleum Silver Metallic Finish Spray Paint. Also known as the longest lasting $6 you will ever spend. This can will last you 4-ev-er #FavSandlotLine. I’ve used it on tables, pumpkins, shoes, bed frames, door handles and it’s still. going. strong.
For this project, the orb required 2 coats with some dry time in between. Just make sure you keep your distance to at least 8 inches or you will get the dreaded paint bubbles. (If it does bubble and drip, no worries just catch it quickly with a towel and re-spray)
When you’re done it’ll look a little something like this. And where does this little orb live these days one might ask? Well on top of my once Dated TV Stand of course. He’s perched on our wedding pictures and joined by a retro alarm clock and an Ikea plant that has proved to be the perfect little shot of green in our space.
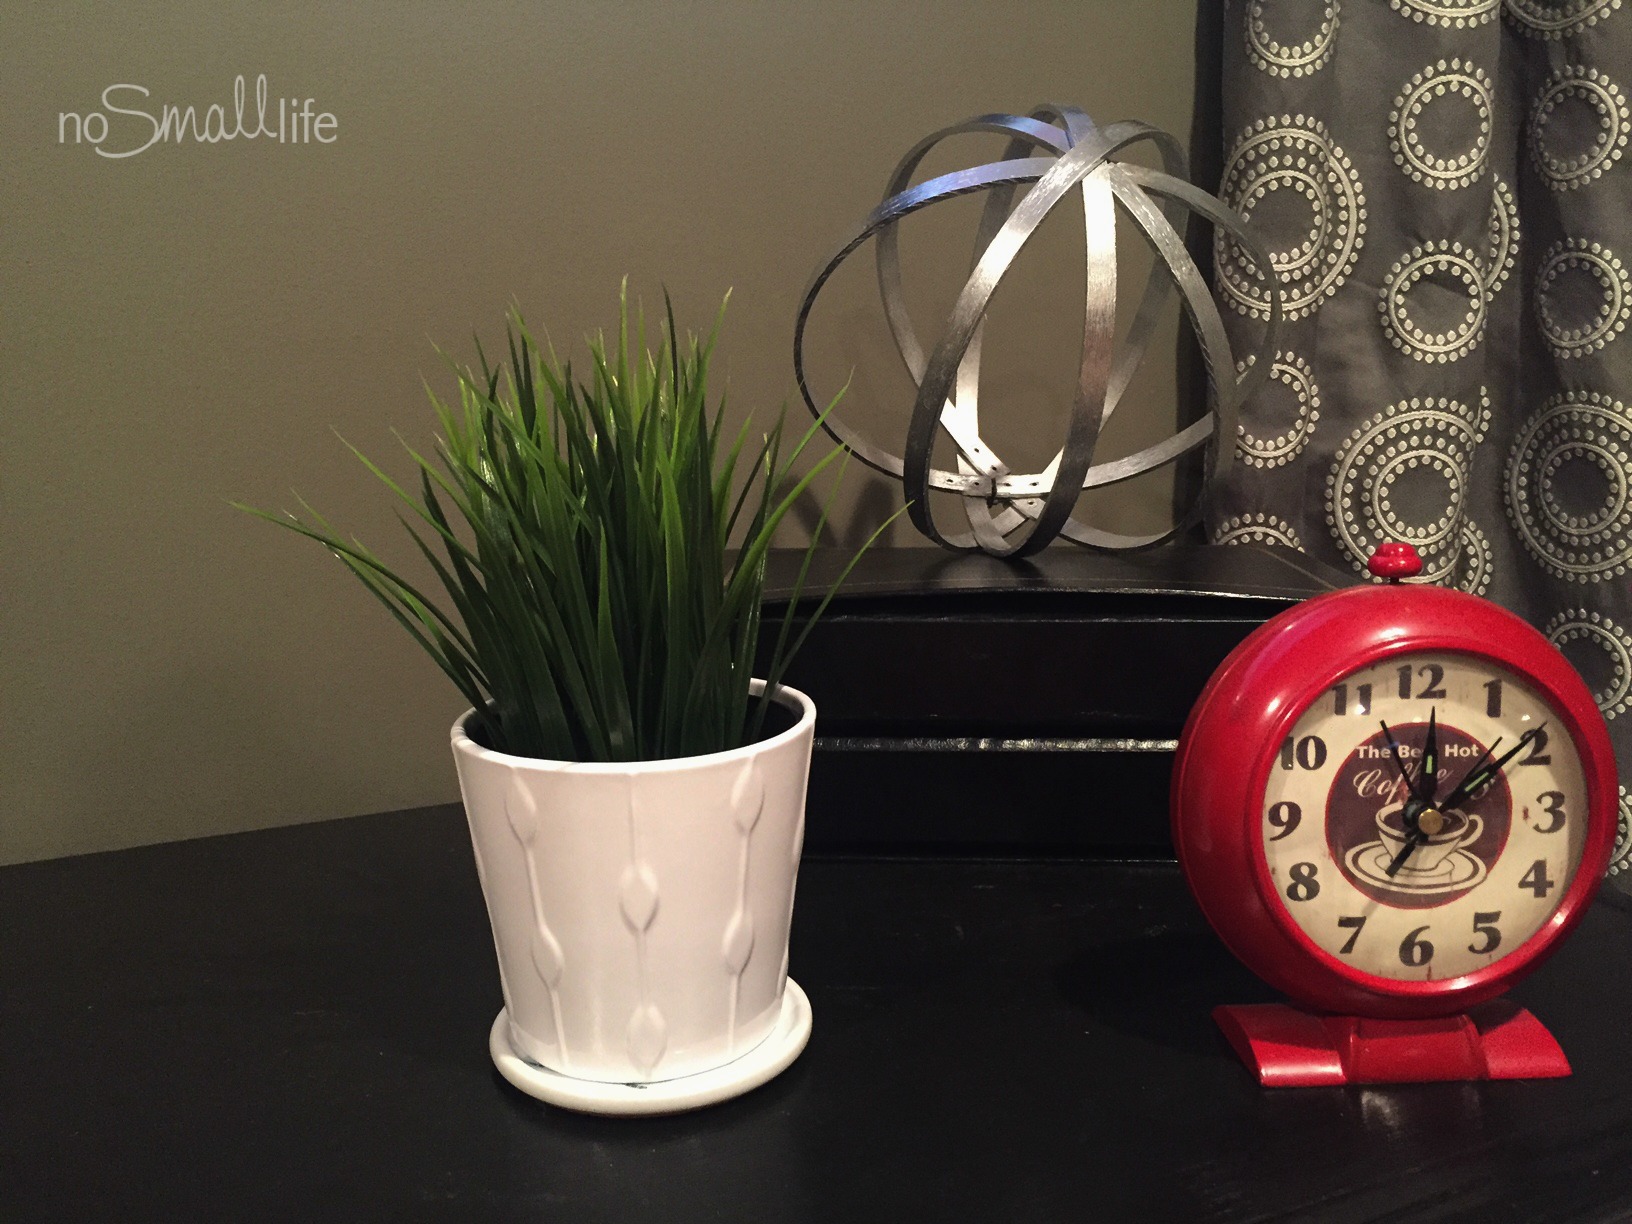
This type of DIY is my favorite kind: simple, quick and inexpensive. Let your imagination go crazy. For literally pennies you could make multiple sizes of orbs for bookshelves, mantles, coffee tables…you’ll be hard-pressed to find a place where this guy wouldn’t look good.
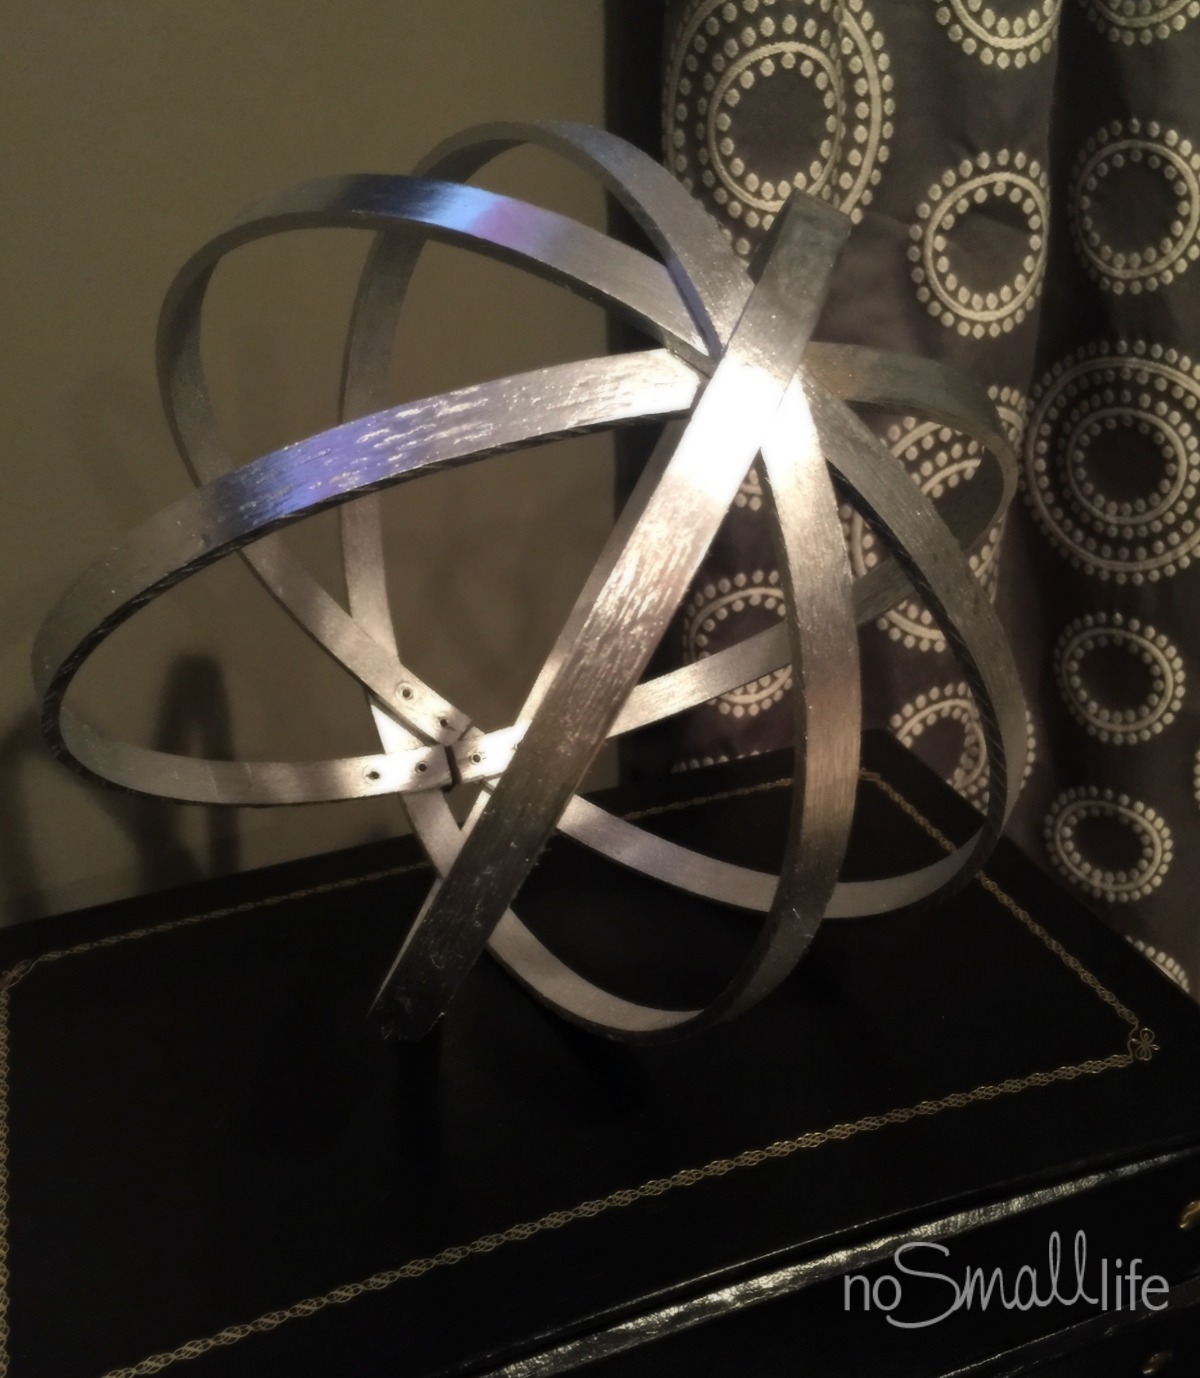
I’m definitely going to make some more and I’m thinking gold? Maybe a hammered bronze? Hmmm…Alright, now I’m getting excited and off to grab a Hobby Lobby coupon.
Remember friends, don’t let expensive home trends intimidate you or cause you to feel small. With a little ingenuity and a whole lot of spray paint you can put your own personal stamp of beauty on your space.










It looks so good, and I never would have thought of it! Very creative! Thank you for sharing it.
Thanks SO much Teresa!
I love this! I’ve seen some dark stained wood ones before, but I love the metal look too. I may need to stop by the craft store and pick up some embroidery hoops!
Ooo, dark wood with be great too! And very easy to achieve with a little stain. So glad you popped by Meredith!
Another great, creative idea! Thank you for sharing this on the #HomeMattersParty
Thanks so much Jeanne!
This turned out awesome! I love these orbs and plan on making a few of my own when I re-do my living room. Thanks for sharing at Merry Monday this week!